There are some cases when you wouldn't want your Evidence Pixel loading on specific pages. These pages are ones that you do not need to track visitors or display social-proof. This article will show you how to restrict the loading of the Evidence Pixel using Google Tag Manager. If you haven't already added your Evidence Pixel to Google Tag Manager, follow this article first.
Step 1: Create a Trigger
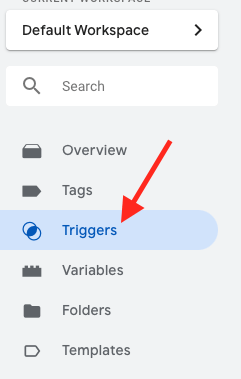
Log in to Google Tag Manager and edit your account. Click Triggers from the menu on the left.
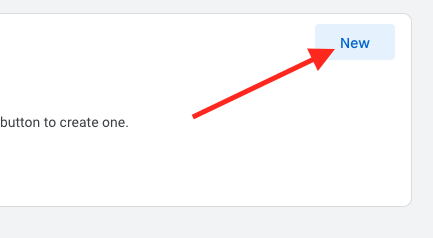
In the top-right of the Triggers page, click the New button.
In the top-left, name the Trigger Excluded Pages.
Hover over the Trigger Configuration and click the pencil icon in the top-right.

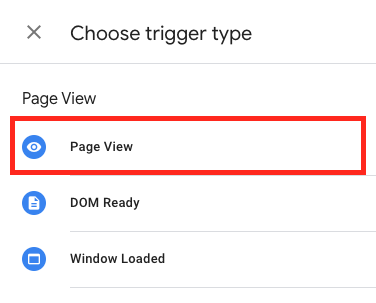
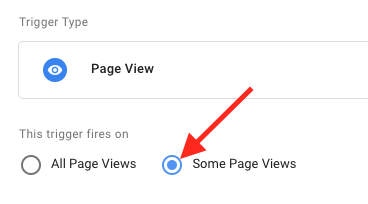
Select Page View as the Trigger Type.
Click the Some Page Views radio button.
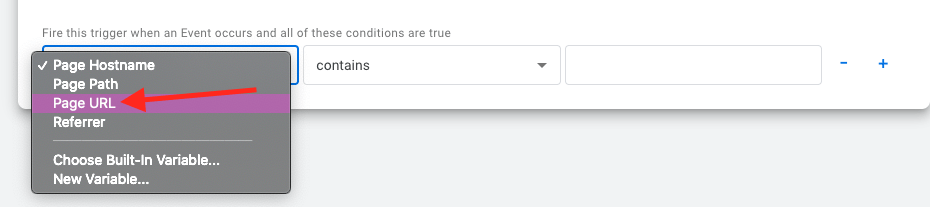
From the drop down on the left, select Page URL.
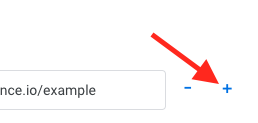
In the text box on the right, paste the URL of a page that you want to exclude the Evidence Pixel on.

To add another URL to exclude, click the plus button on the right.
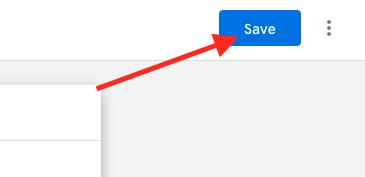
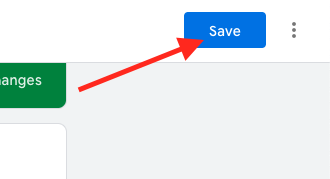
Repeat the steps above for other pages you want to exclude. Once you are satisfied and have selected all of your exclude pages, click the save button in the top right-hand corner of the page.
Step 2: Add the Trigger to your Tag (as an exception)
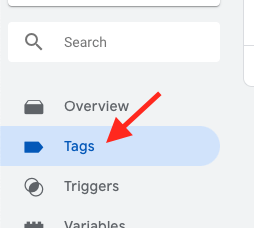
Click Tags from the menu on the left.
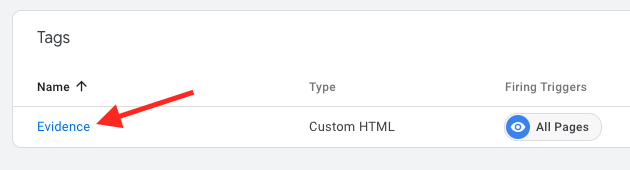
Click the Tag that contains the Evidence Pixel.
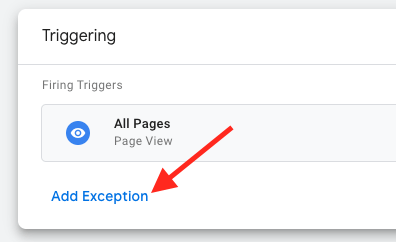
Hover over the Triggering section and click the pencil icon.

Click the Add Exception option at the bottom.
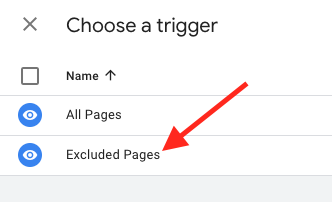
Click the Excluded Pages trigger that we created in Step 1.
Click the blue Save button in the top right-hand corner of the screen.
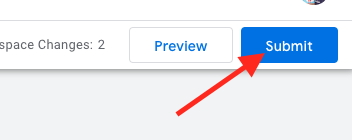
Click the Submit button on the right of the screen.
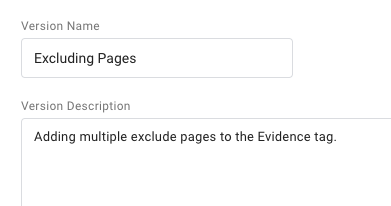
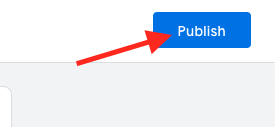
Give this version a name and description, then click the Publish button in the top right.
Relevant Articles
- Fast Start: Install Pixel & Create Your First Campaign
- How to Copy your Evidence Pixel
- Connect Other Apps (Sources) to your Evidence App
Create Your Free Evidence Account
Increasing your website's conversions isn't always black and white. With so many ways, it can be confusing where to start. Evidence makes this easy. Within a few minutes, you can have real-time social proof added to your site and boosting conversions from 10-15%.
Social proof is the best way to build trust and increase buyer urgency. With a free trial to Evidence, you can adding add high-converting notifications to your website. Your free trial includes:
- Unlimited Domains
- Unlimited Notifications
- Conversion Notifications
- Hot Streak Notifications
- Visitor Count Notifications
- Offer Notifications
- Announcement Notifications
- Boomerang Tabs
- Powerful Design Editor
- Best-in Class Display Options
There is no long-term obligation. If you don't see results, simply cancel. Visit Evidence.io and create your trial account today.
If you ever need help sending data to Evidence, check out Parsey.com.