This article will walk you through the steps of Installing Evidence on your site using Google Tag Manager.
Step 1: Install the Pixel
A) Copy the pixel
Follow this article to copy your Evidence Pixel.
B) Paste the pixel code into your Google Tag Manager account
Log into your Google Tag Manager account and create a new tag.
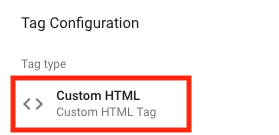
Select “Custom HTML” for the tag configuration.

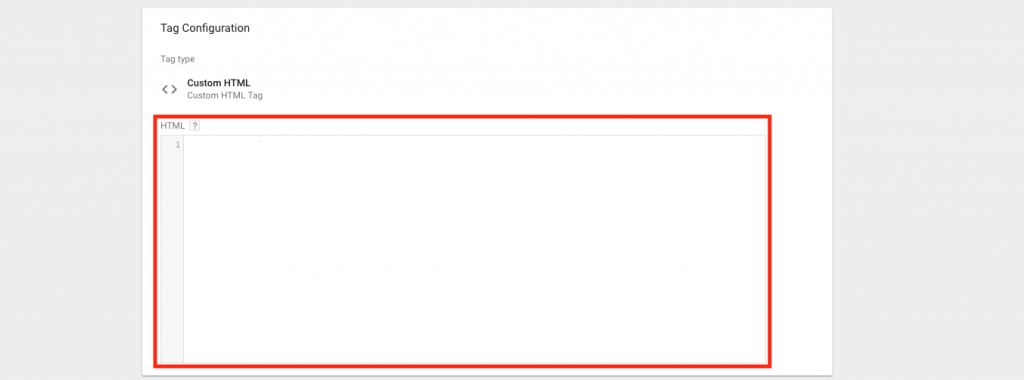
Paste your Evidence pixel in the HTML section.

Add an “All Pages” Trigger.

Click “Save” and publish your changes.
All done! Evidence notifications are now able to be displayed on your any pages that have your GTM script.
Relevant Articles
- Load Evidence on Desktop Only using GTM
- Excluding Evidence on Specific GTM Pages
- Install Evidence Pixel using GTM
Create Your Free Evidence Account
Increasing your website's conversions isn't always black and white. With so many ways, it can be confusing where to start. Evidence makes this easy. Within a few minutes, you can have real-time social proof added your site and boosting conversions from 10-15%.
Social proof is the best way to build trust and increase buyer urgency. With a free trial to Evidence, you can adding add high-converting notifications to your website. Your free trial includes:
- Unlimited Domains
- Unlimited Notifications
- Conversion Notifications
- Hot Streak Notifications
- Visitor Count Notifications
- Offer Notifications
- Announcement Notifications
- Boomerang Tabs
- Powerful Design Editor
- Best-in Class Display Options
There is no long-term obligation. If you don't see results, simply cancel. Visit Evidence.io and create your trial account today.
If you ever need help sending data to Evidence, check out Parsey.com.