This article will cover how to install your Evidence script in Infusionsoft in the following sections. Click one of the links below to skip to that section.
Step 1: Install the Evidence Script in Infusionsoft
A) Copy the pixel
Follow this article here to copy your Evidence Pixel.
B) Paste the pixel code into your Infusionsoft account in the following places:
Evidence Script in an Infusionsoft Landing Page
Log in to Infusionsoft and enter the campaign that contains your landing page.
Double-click the icon for your landing page.
Click “Launch” at the bottom of the page.
Past your Evidence pixel in the “Head Tag” box.
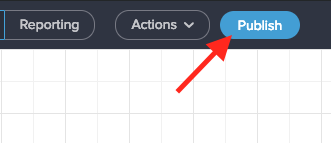
Go back out into the campaign and publish the changes that you have made.
All done! Evidence notifications are now able to be displayed on your Infusionsoft landing page.
Evidence Script in Infusionsoft Web Forms
Log in to Infusionsoft and enter the campaign that contains your landing page.
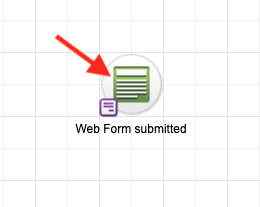
Double-click the icon for your web form.
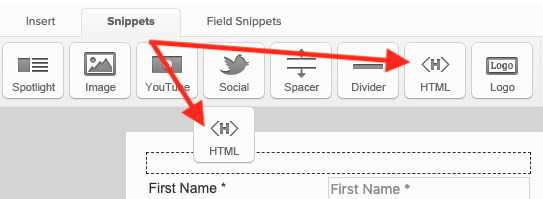
Click the “Snippets” tab.
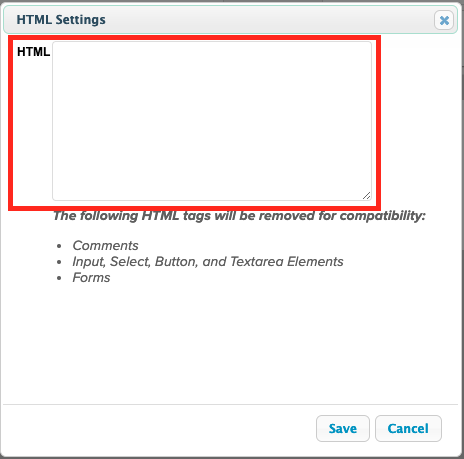
Drag the HTML snippet to the top of your form.
Paste your Evidence pixel in the HTML box. Then click “Save“
Go back out into the campaign.
Publish the changes that you have made.
Evidence Script in the Infusionsoft Shopping Cart
Log into Infusionsoft, hover over the Master Navigation and click “E-COMMERCE“.
Under the “Design” section, click “Shopping Cart Themes“.
Click “Edit” on the theme that you would like Evidence notifications to appear on.
Click the “HTML Areas” tab.
Paste your Evidence pixel within the “Customer Footer” area and click “Save“.
Evidence Script in Infusionsoft Order Forms
Log into Infusionsoft, hover over the Master Navigation and click “E-COMMERCE“.
Under the “Checkout” section, click “Order Forms“.
Click the name of the Order Form you want the Evidence notifications to appear on.
Click the “HTML Areas” tab.
Paste your Evidence pixel in the “Custom Footer” box and click “Save“.
All done! Evidence notifications are now able to be displayed on your Infusionsoft Order Form.
Step 2: Launch a campaign
This article has been broken up into two parts. Below is a link to each section.
- How to capture events from Infusionsoft Webhooks
- How to capture events from Infusionsoft Web Forms
Section 1 – Infusionsoft Webhooks
In order to integrate Infusionsoft with Evidence, Infusionsoft needs a “Webhook URL” to send the data to. Follow this article to learn how to create a webhook URL within Evidence to insert into Infusionsoft.
Before you begin this portion of the article, there are a few things that you must know.
- Infusionsoft calls webhooks “HTTP Posts“.
- HTTP Posts can only live within a “Sequence“.
- Sequence’s are found in a Campaign Builder campaign, and can only be triggered by a Goal, or another Sequence.
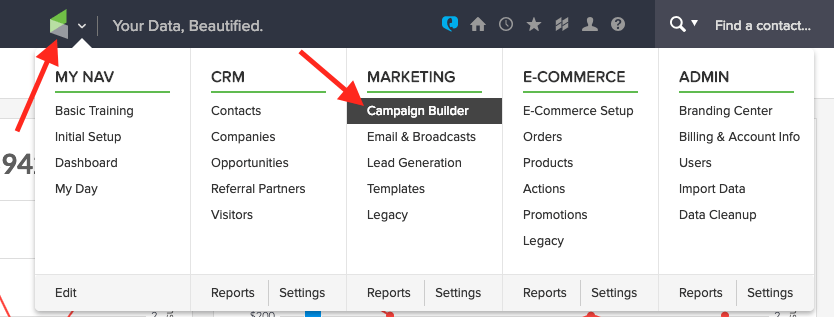
Log into Infusionsoft. Hover over the Master Navigation and click “Campaign Builder“.
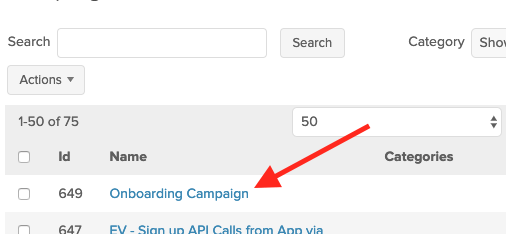
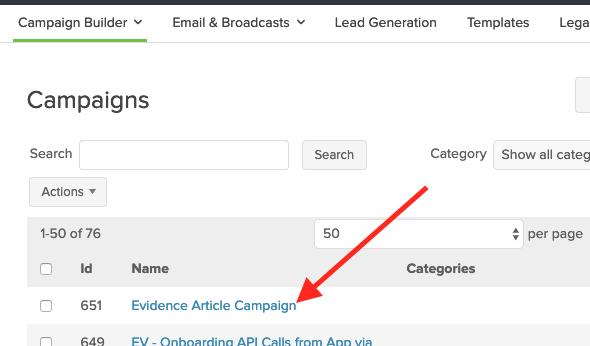
Click the title of the campaign you wish to edit.
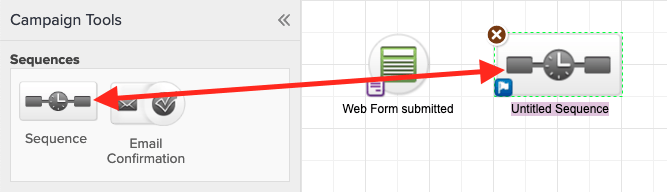
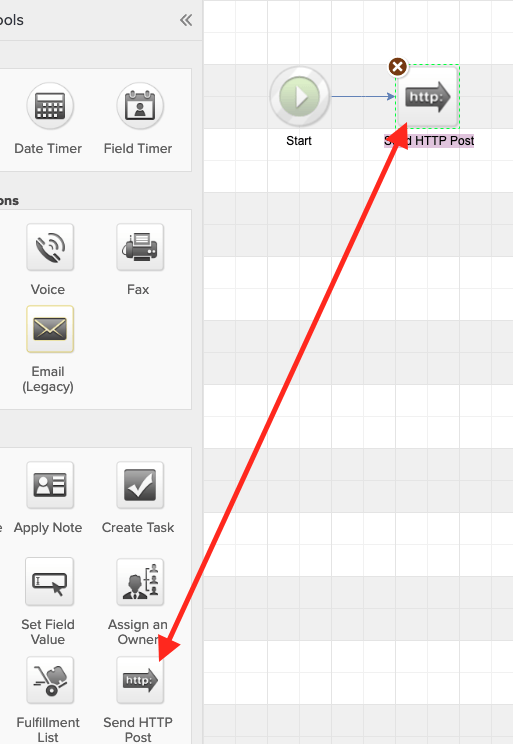
Drag a Sequence from the “Campaign Tools” pane onto the canvas, and connect it to the Goal that you want to trigger the webhook.
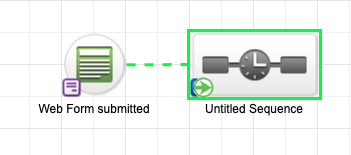
Double-click the new sequence to configure it. Then drag the “Send HTTP Post” icon onto the canvas.
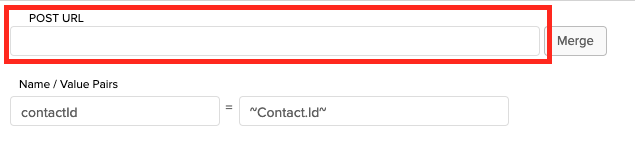
Double-click the HTTP post to configure it. Then paste the Evidence webhook URL that you created earlier into the “Post URL” field.
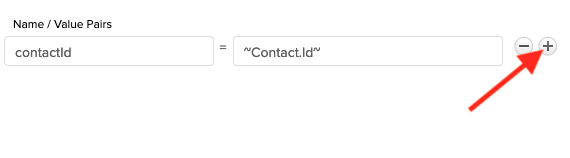
Hover over the “ContactId” Name/Value Pair and click the “+” icon to add another field to the webhook.
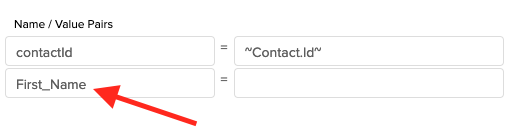
In the left box, give the field a name of “First_Name“.
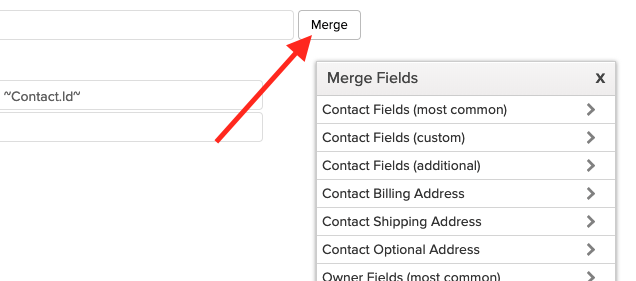
Click the “Merge” button. This will pop up a window that helps you add merge codes for Infusionsoft fields.
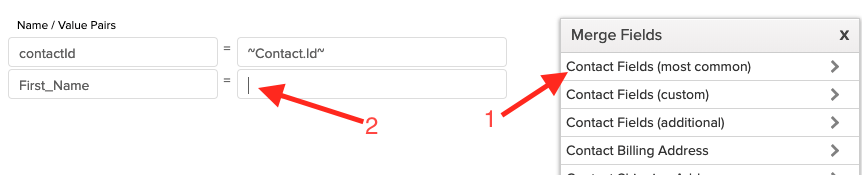
Click “Contact Fields (most common)” and then click into the box to the left of “First_Name” to put your type tool in there.
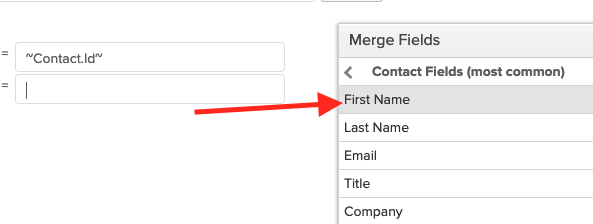
Click “First Name“.
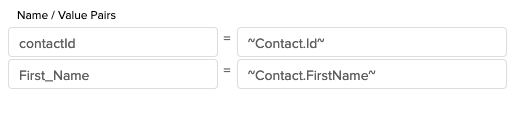
Notice how the merge field for “First Name” is now in the text box next to “First_Name“.
Repeat this process to add as many fields as you want to the webhook. Remember, this information will be going to Evidence for use in an Evidence notification.
Testing the Webhook
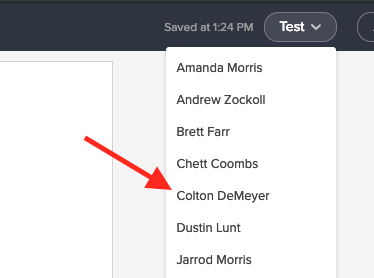
Once you have finished, click the “Test” button, and select an Infusionsoft User from the list.
Important: Evidence uses this test webhook to help you configure the fields later.
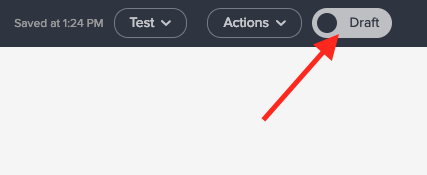
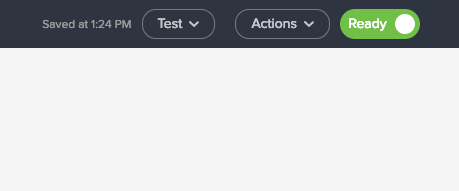
Make sure to change your webhook from “Draft” to “Ready” by clicking the “Draft” button.
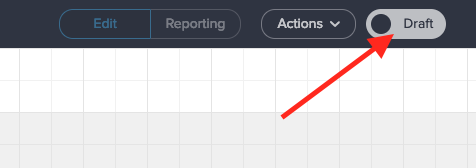
Now go back to your sequence, and turn that from “Draft” to “Ready” as well.
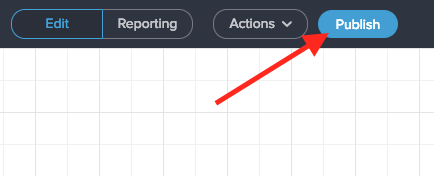
Go back out to the Campaign level, and Publish the campaign.
Once your campaign is published, click this link to learn what to do with the Infusionsoft webhook that Evidence received.
Section 2 – Infusionsoft Web Forms
Log in to Infusionsoft and enter the campaign that contains your landing page.
Double-click the icon for your web form.
Click the “Snippets” tab.

Drag the HTML snippet to the top of your form.
Paste your Evidence pixel in the HTML box. Then click “Save“
Go back out into the campaign.
Publish the changes that you have made.
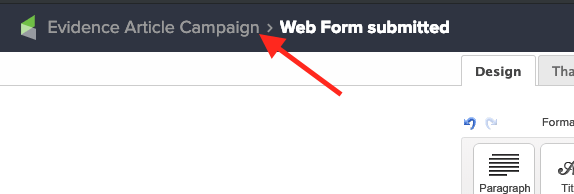
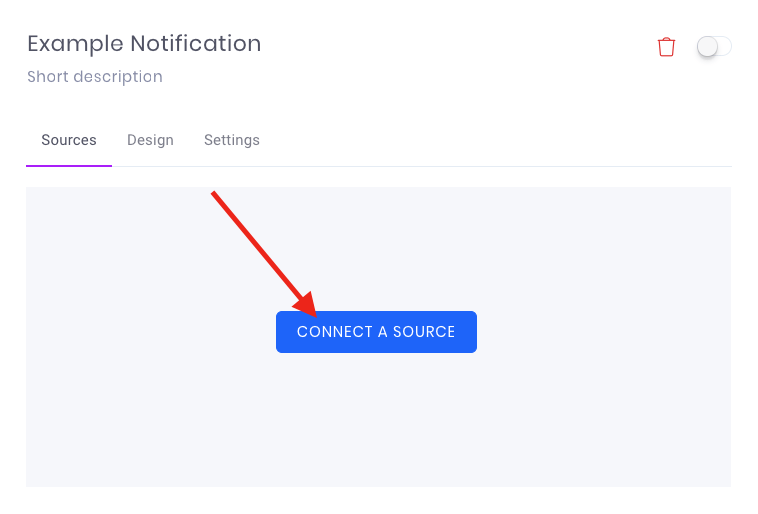
Now log into your Evidence account. Go into the desired Campaign and Notification that you want your Infusionsoft web form connected to. Then click on the blue “Connect a Source” button.
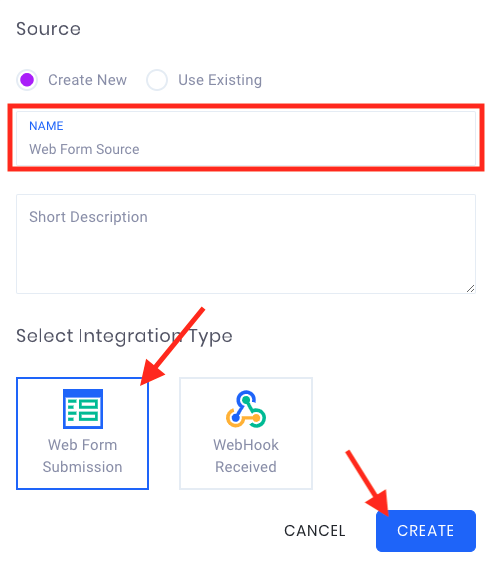
Now, name your source “Infusionsoft” and click “Web Form Submission” as the Integration Type. Then click “Create“. Just for the purposes of this article, I have named mine “Web Form Source“.
On the pane that slides in from the right, paste the URL of the page that your web form is located on, then click the “Check” button.
Important: The Evidence pixel needs to be on this page as well.
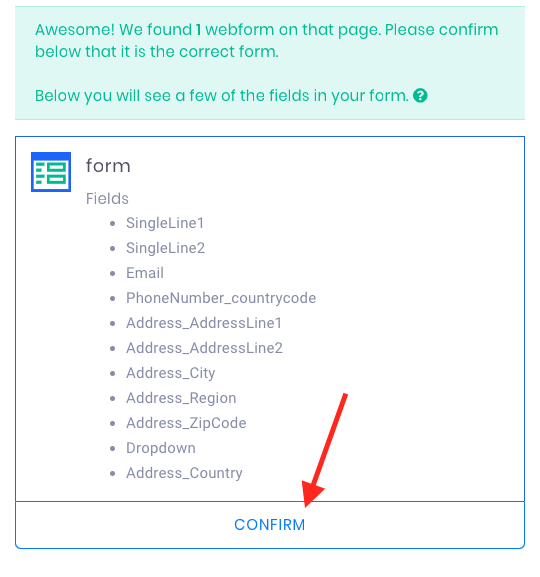
Once Evidence has identified the form on the page, it will display some of the content of the form for you to verify. Click “Confirm“.
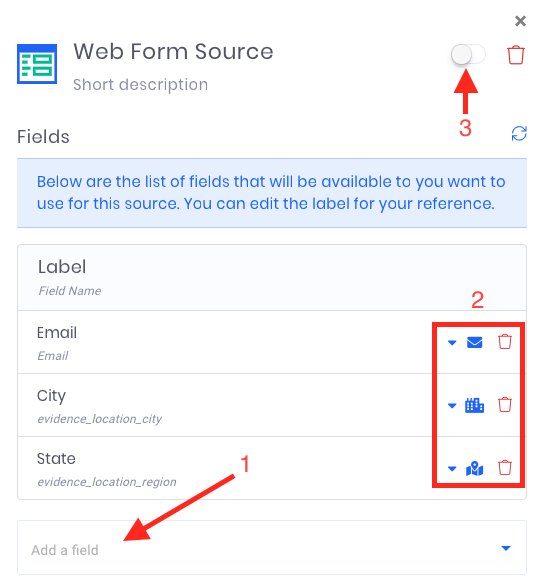
Once Evidence has found the correct form, customize the data that can be pulled from the form to display in the notification. Follow these steps:
(1) Click “Add a field” and select the fields from the form that will need to be used later. Best practice is to use at least the fields in the image below.
(2) Categorize or delete any of that fields that you have selected.
(3) Use the toggle at the top of the window to turn the source "ON"
Now you have successfully integrated your Infusionsoft web form for use within an Evidence Notification.
Relevant Articles
Create Your Free Evidence Account
Increasing your website's conversions isn't always black and white. With so many ways, it can be confusing where to start. Evidence makes this easy. Within a few minutes, you can have real-time social proof added to your site and boosting conversions from 10-15%.
Social proof is the best way to build trust and increase buyer urgency. With a free trial to Evidence, you can adding add high-converting notifications to your website. Your free trial includes:
- Unlimited Domains
- Unlimited Notifications
- Conversion Notifications
- Hot Streak Notifications
- Visitor Count Notifications
- Offer Notifications
- Announcement Notifications
- Boomerang Tabs
- Powerful Design Editor
- Best-in Class Display Options
There is no long-term obligation. If you don't see results, simply cancel. Visit Evidence.io and create your trial account today.
If you ever need help sending data to Evidence, check out Parsey.com.