This MailChimp article has been broken up into two parts. Below is a link to each section.
Step 1: Launch a campaign
Section 1 – Mailchimp Webhooks
In order to integrate Mailchimp with Evidence, it needs a Webhook URL to send the data to. Follow this article to learn how to create a webhook URL within Evidence.
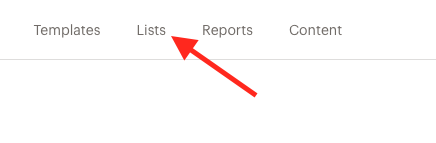
Log into your Mailchimp account and click Lists.
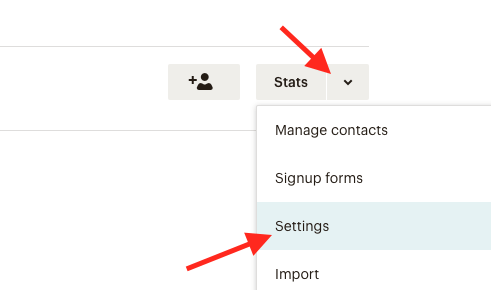
Click the menu on your list and select Settings.
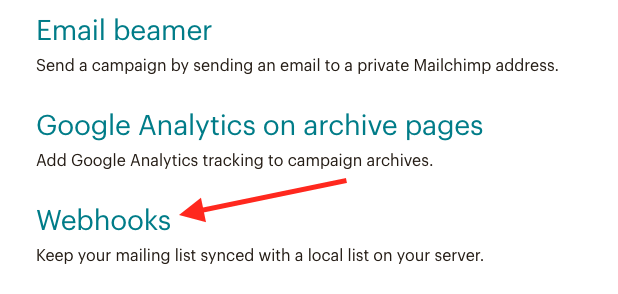
Scroll down and click Webhooks.
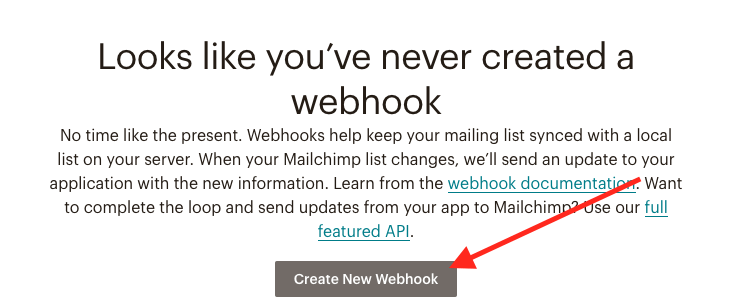
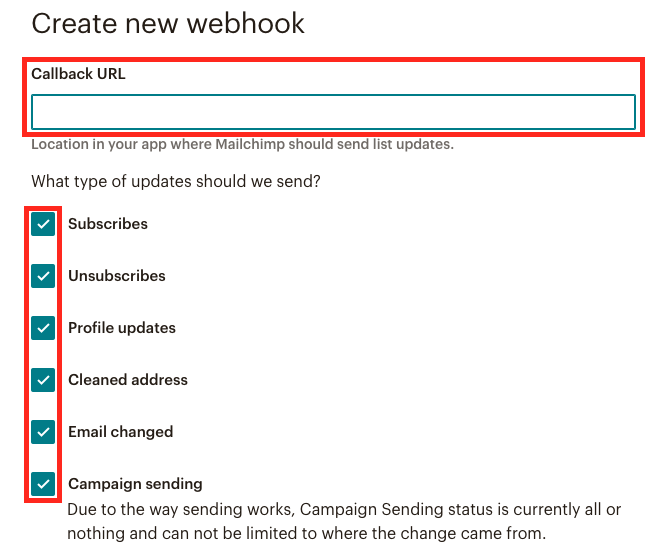
Click the Create New Webhook button.
Paste the Evidence webhook URL that you created in Step 1 into the Callback URL box. Then check/uncheck the boxes for the updates that you want to get sent to Evidence.
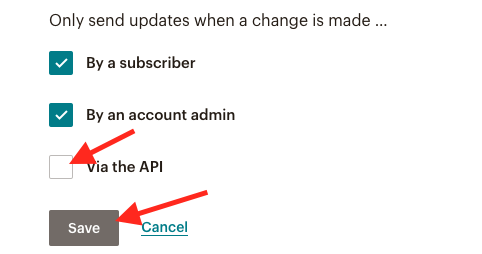
Check the Via the API box and click Save.
Now you will need to perform an action that triggers Mailchimp to send us a webhook. This can be any of actions that you have checked above.
Once your campaign is published, click this link to learn what to do with the Mailchimp webhook that Evidence received.
Section 2 – Mailchimp Web Forms
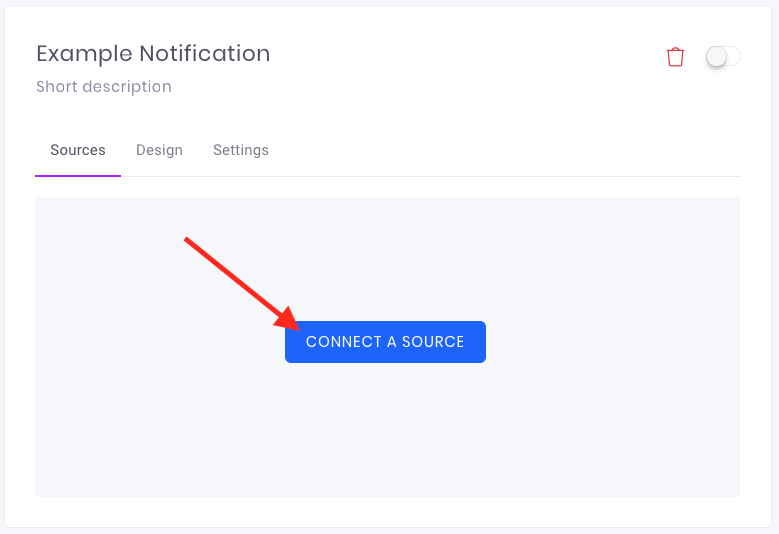
First, you will want to go into the desired Campaign and Notification that you want Mailchimp connected to. Then click on the blue Connect a Source”button.
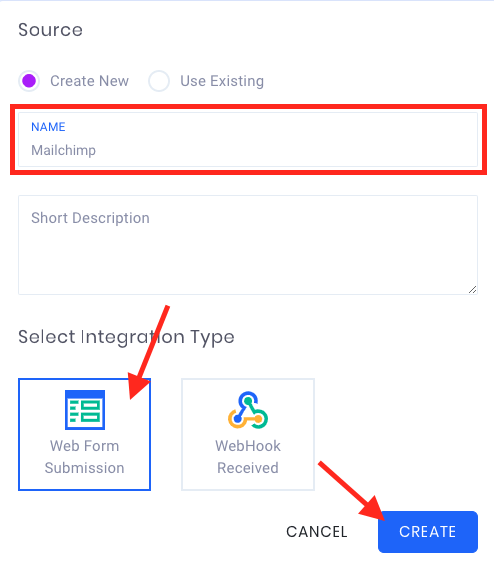
Now, name your source and select Web Form Submission as the Integration Type. Then click Create.
On the pane that slides in from the right, paste the URL of the page that your Mailchimp form is located on, then click the Check button.
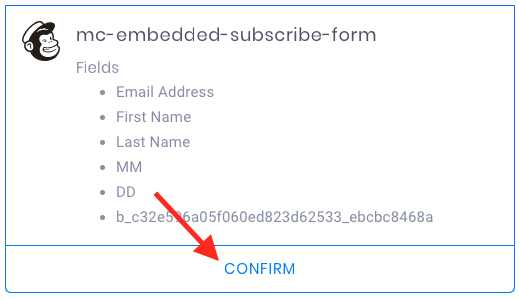
Once Evidence has identified the form on the page, it will display some of the content of the form for you to verify. Notice that the Mailchimp logo is displayed as well. This is an indicator that Evidence found the correct form. Click “Confirm“.
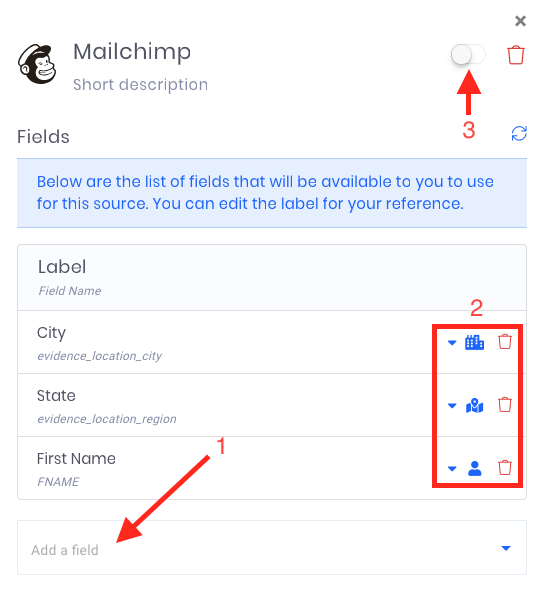
Once Evidence has found the correct form, customize the data that can be pulled from the form to display in the notification. Follow these steps:
(1) Click Add a field and select the fields from the form that will need to be used later. Best practice is to use at least the fields in the image below.
(2) Categorize or delete any of that fields that you have selected.
(3) Use the toggle at the top of the window to turn the source ON
Now you have successfully integrated your Mailchimp form for use within an Evidence Notification.
Relevant Articles
- How to create a webhook URL for a data source
- In-depth Campaign Setup
- How to Configure a Conversion Notification
Create Your Free Evidence Account
Increasing your website's conversions isn't always black and white. With so many ways, it can be confusing where to start. Evidence makes this easy. Within a few minutes, you can have real-time social proof added your site and boosting conversions from 10-15%.
Social proof is the best way to build trust and increase buyer urgency. With a free trial to Evidence, you can adding add high-converting notifications to your website. Your free trial includes:
- Unlimited Domains
- Unlimited Notifications
- Conversion Notifications
- Hot Streak Notifications
- Visitor Count Notifications
- Offer Notifications
- Announcement Notifications
- Boomerang Tabs
- Powerful Design Editor
- Best-in Class Display Options
There is no long-term obligation. If you don't see results, simply cancel. Visit Evidence.io and create your trial account today.
If you ever need help sending data to Evidence, check out Parsey.com.