Evidence can be tricky to understand. This guide is meant to break down some of the more complicated aspects of Evidence into simple, easy to understand sections. We will cover finding and installing your Evidence Pixel, parts of Campaigns, and creating Notifications within a campaign.
Step 1: Installing Your Evidence Pixel
In order for Evidence to display notifications on your sites, landing pages, etc., The Evidence Pixel needs to be installed on those pages.
Finding Your Pixel
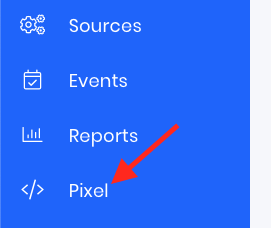
To find your Pixel, log into your Evidence account and click Pixel from the left-hand menu.
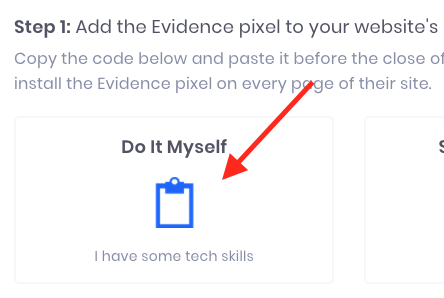
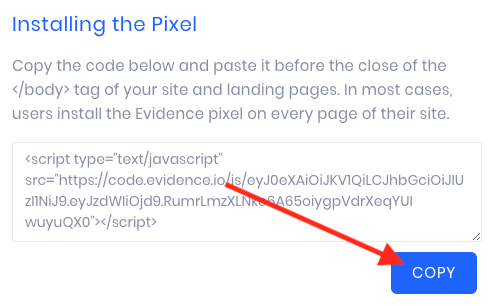
Click the Do It Myself option. This will push in a page on the right side of the screen. Click the Copy button to copy your Evidence Pixel to your clipboard.
Adding the Pixel to Your Site
Once you have your Pixel copied, you'll need to instal it on the pages of your site. Below are links to some of the more popular page integrations.
If you don't see your site or page builder here, don't worry! Here you can find instructions for all of the services that we currently have articles for. If you still can't find your service, please let us know on this page, and we will see what we can do to create an article for you!
Step 2: Creating a Campaign
Evidence campaigns are great for allowing you to have a specific set of notifications that share Display rules and Options. You can have multiple campaigns with different sets of rules that can all work together on the same page, or separately on different pages. Every campaign has four different tabs; Notifications, Display, Options, and Launch.
Notifications Tab
Notifications are what pop up on your website to display real visitors taking real actions. This is the feature that Evidence was built around. Some notifications can be set up right away and start displaying immediately, and some take a little more work. Currently, there are 5 Notification types. Each one has its uses which are explained below. This article covers features of the Notifications tab that aren't covered here.
Visitor Count
The Visitor Count notification displays the number of visitors that are on your site. You can set this to display a Live count or set it to display the number of visitors between 1 hour ago and 5 weeks ago. This should be the first notification that you set up in your Evidence account because it is the easiest to configure to start showing real-time social proof.
Click here for more information on how to set up the Visitor Count notification.
Announcements
The Announcement notification is one of two notifications that don't display social proof. However, you can still use it to increase conversions. This notification allows you to create a static message to your audience. The message can be anything that you like, but it's best used as a way to let your customer know of special deals that you are offering, such as Free Shipping on Orders of $50! or Use promo code (MakeItRain) for 10% OFF.
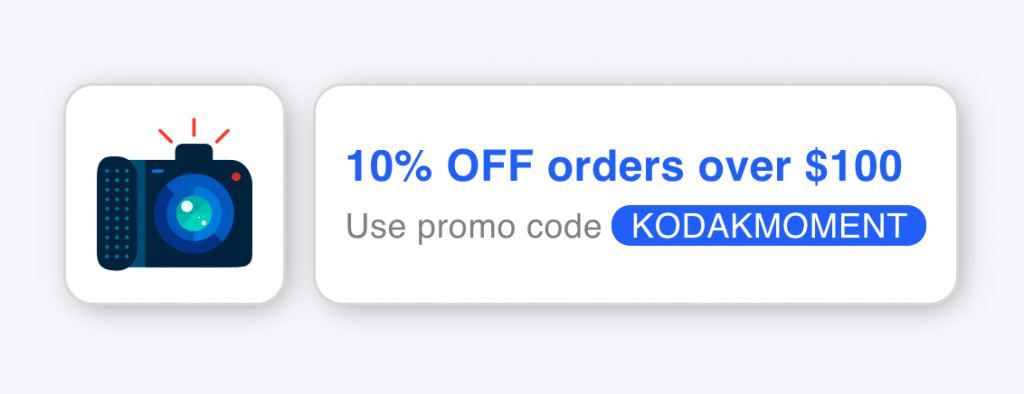
On this page we have a bunch of examples of Announcements that you can reference for ideas.
Click here for more information on how to set up the Announcement notification.
Offers
The Offers notification is another notification that doesn't display social proof. However, you can use an offer notification to drive traffic to a landing page. Offer notifications can have a Heading, sub-text, and even a button.

Click here for more information on how to set up an Offer notification.
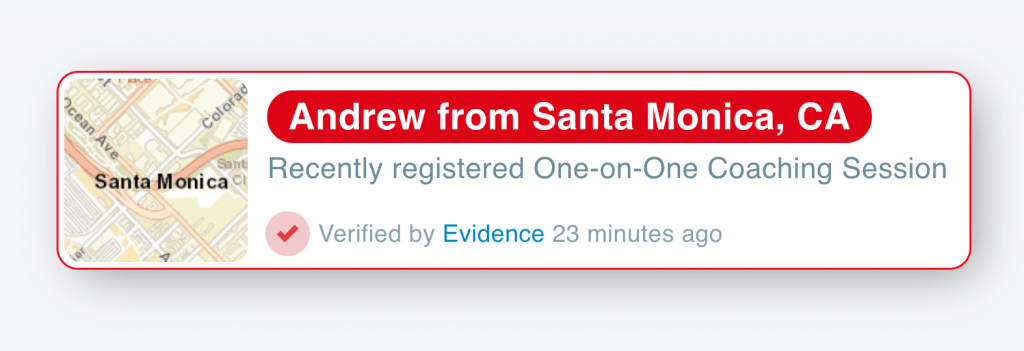
Conversions
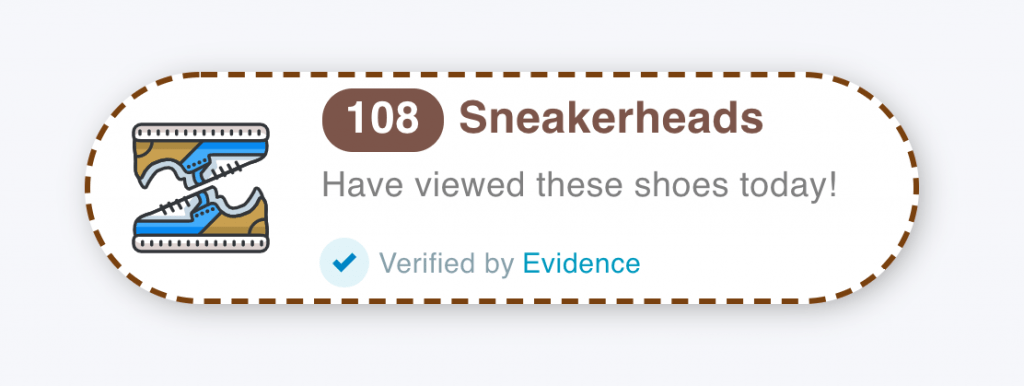
The Conversion notification is what lets visitors to your site know what other visitors are doing. Whether they are subscribing to your blog or purchasing a product, Conversion notifications are the bread and butter of social proof. Conversion notifications are generated when an Event is received (an Event is a webhook or a form submission).
Setting up this type of notification is a bit more involved than the previous notifications in this article, as it requires you to integrate with other services using either a Web Form or a Webhook. Below is a short list of some of our most popular integrations.
Search through our list of Integrations to see which of your Services you can integrate with Evidence. Don't see your service? Don't worry, if it can send a webhook, try following our Generic Webhook article. No Webhooks? No problem, if your service has Web Forms, we've got you covered!
Click here for more information on how to set up a Conversion notification.
Tip: If your service doesn't send a webhook or have web forms, but does send notification emails, check out Parsey! Here is our article on Parsing Emails for Conversion and Streak Notifications!
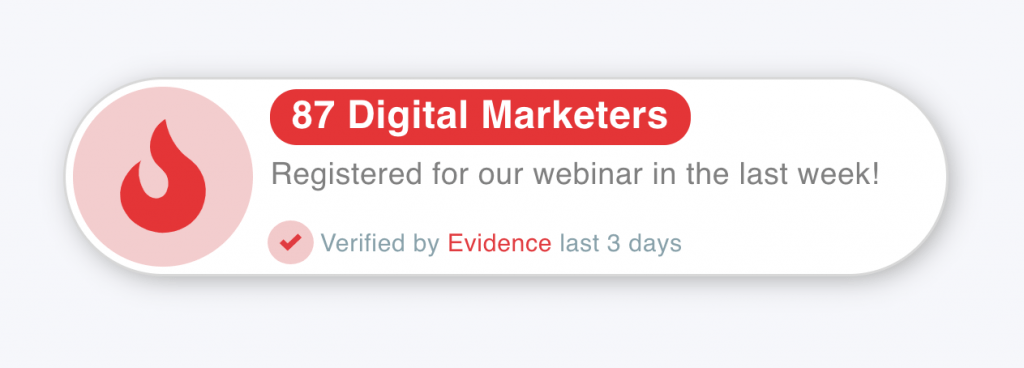
Streaks
The Streaks notification is very similar to the Conversion notification, in that it is created when Evidence receives an Event. However, unlike a Conversion notification, Streaks do not display semi-identifying information. A Streak notification takes the total amount of Events (conversions) that your Evidence account has received and displays that tally.
Click here for more information on how to set up a Streak notification.
Display Tab
The Display tab allows you to customize where on your site that this campaign will display on. Keep in mind that this controls the display settings for all notifications in a campaign.
By default, notifications are set to display on all of your pages, however, you can click Select Pages to customize which pages specifically you would like these notifications to appear on.
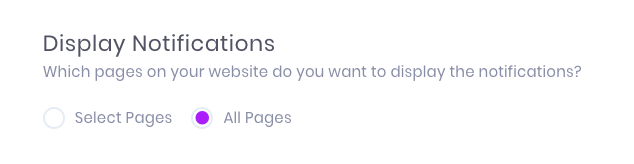
If you choose to select which pages to display on, you have some options. The Enter Full URL field can be toggled between SHOW ON and HIDE ON.
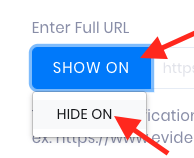
Click here for more information on Display tab settings.
Options Tab
The Options tab is where you decide the page location, timing, and frequency of your notifications.
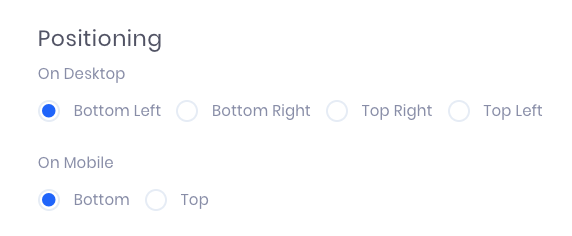
The main feature of the Options tab is to determine where on the page you would like the desktop and mobile notifications to load. For Desktop, the default, bottom left is the most common.
Another feature is Timing. Here you can choose how long the notifications wait to display after the page loads, and the time between each notification.
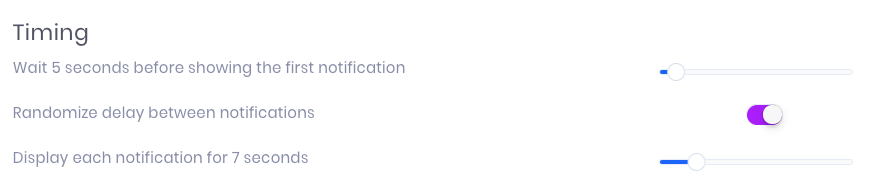
This article covers the Options tab in greater detail.
Launch Tab
The Launch Tab is where you can change the Name and Description of your campaign, toggle it between Active and Inactive, or delete it.
Visit this article for more detail on the Launch Tab.
Relevant Articles
Create Your Free Evidence Account
Increasing your website's conversions isn't always black and white. With so many ways, it can be confusing where to start. Evidence makes this easy. Within a few minutes, you can have real-time social proof added to your site and boosting conversions from 10-15%.
Social proof is the best way to build trust and increase buyer urgency. With a free trial to Evidence, you can adding add high-converting notifications to your website. Your free trial includes:
- Unlimited Domains
- Unlimited Notifications
- Conversion Notifications
- Hot Streak Notifications
- Visitor Count Notifications
- Offer Notifications
- Announcement Notifications
- Boomerang Tabs
- Powerful Design Editor
- Best-in Class Display Options
There is no long-term obligation. If you don't see results, simply cancel. Visit Evidence.io and create your trial account today.
If you ever need help sending data to Evidence, check out Parsey.com.